In order to import email contacts, you must first create a CSV file (Creating a CSV File for Custom List Import). The only data that will be pulled from Excel will be the email address. Any other information will not be pulled.

- From the Organization Dashboard (Home tab), click on the Email tab
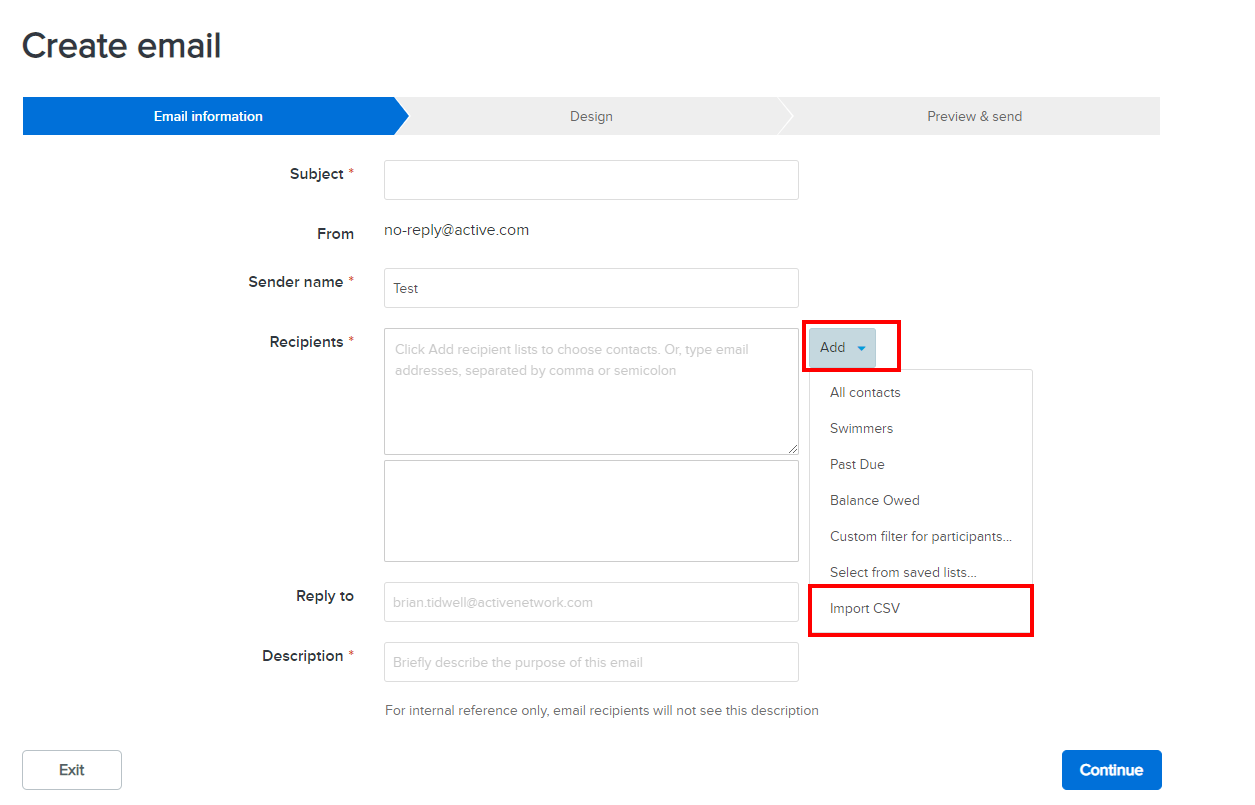
- Click Create an email to create a new message (this step is required in order to import email records)
- Within the Create email screen, click the Add button by the To field
- Click Import CSV
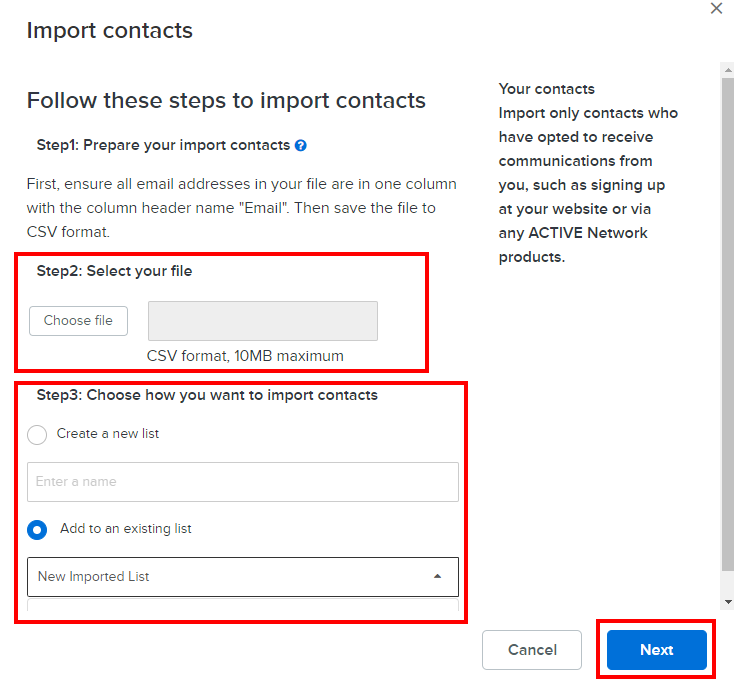
- Click on Choose file and select file you created
- Find and select CSV file
- Note: Maximum file size is 10MB.
- If this is a New List, select Create a new list and enter a name for this list
- If adding addresses to an already created list, select: Add to an existing list
- Click Next
- Verify the number of valid emails, click Import
- Follow the steps in Send Emails to email receipients in this list
- Notes:
- Clicking Cancel on the Create email screen simply means the message in question has been cancelled - the imported list will still be accessible when creating an email in the future
- If the CSV file contained a recipient’s non-primary email (instead of his/her existing primary email in the system), the email is also sent to non-primary email addresses in the imported CSV file
- Email addresses that are imported from a CSV file also have the unsubscribe link in the sent emails. Once recipients click the unsubscribe link, they will no longer receive any emails

